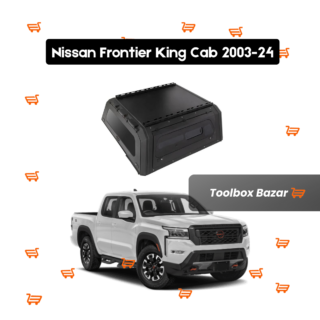
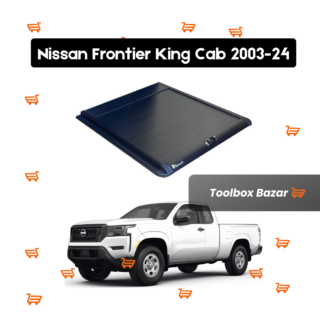
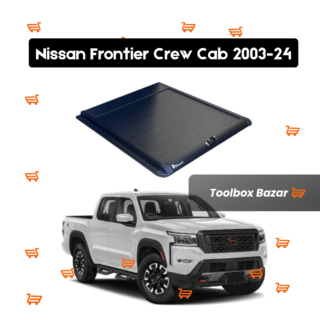
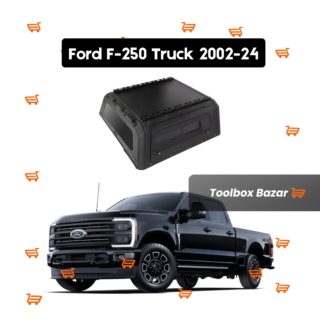
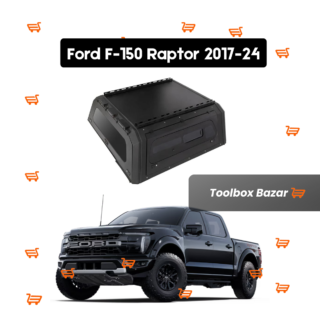
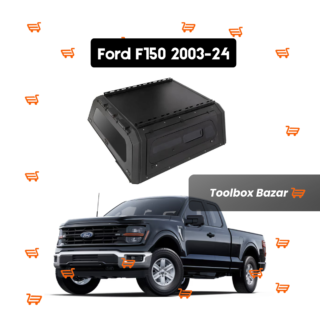
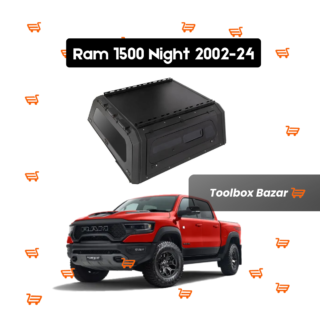
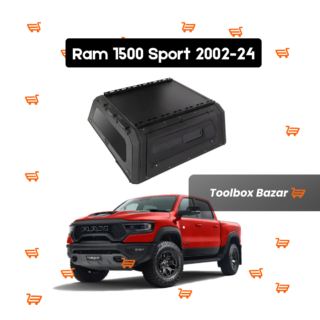
Diamondback bed cover installation on your truck is an excellent way to improve the truck functionality, security and appearance.
This is known for its durability and weather resistance and design to protect your cargo from elements while providing a sleek look.
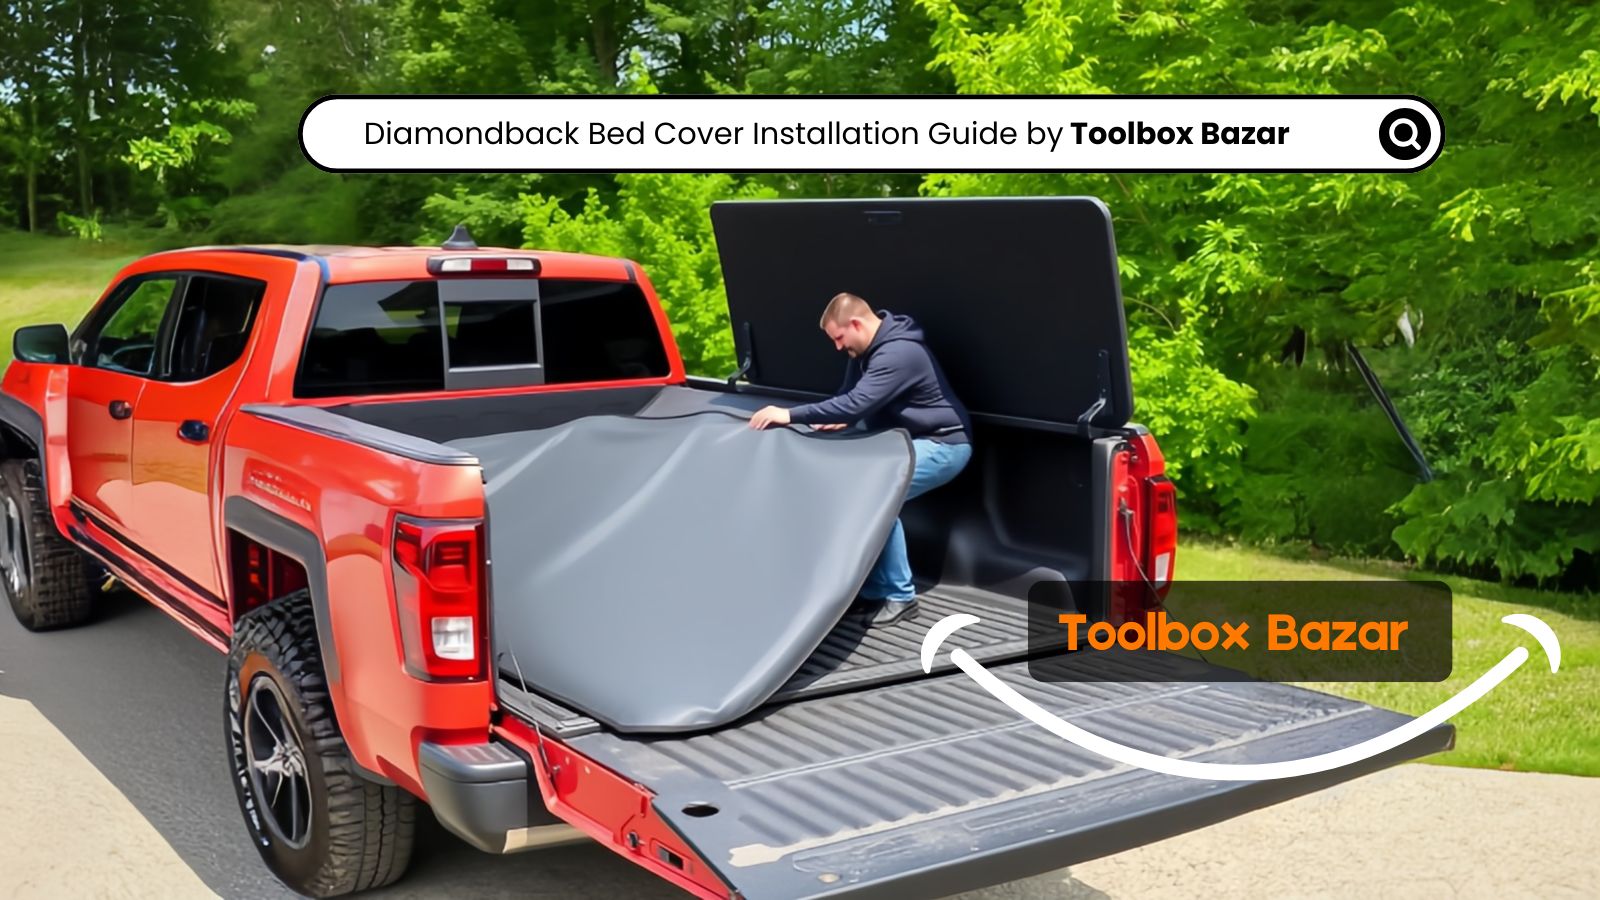
However, at the end of this blog post, you will be able to install diamondback bed cover in your truck for sure. This complete guide will walk you through the installation process step by step, which ensures the install you can install your cover efficiently and effectively.
Diamondback Bed Cover Installation Overview:
Choosing a diamondback bed cover for a truck is a smart investment that offers numerous benefits.
Some of them are long-term durability, superior weather protection, improved security, versatile cargo management, easy installation, and long term investment. However, some of the questions should ask by yourself before install diamondback bed cover for your truck
- What is my primary purpose for the bed cover?
- Which model of diamondback bed cover is best for my truck?
- Is my truck compatible with the diamondback bed cover?
- What tools will I need for installation?
- How will this installation affect my truck’s aesthetics?
Benefits of Installing Diamondback Bed Cover:
Before we dive into the installation process, let’s explore why you should consider a diamondback bed cover:
- Durability: It is made from high quality material like 100” 3003 alloy aluminum, and weatherproof from harsh conditions
- Weather Protection: It offers fully weather sealed designs and EPDM compression gaskets, these covers keep your cargo dry and protected from rain, snow and dirt.
- Versatility: Many models can support significant weight up to 1600 lbs. This allows you to use the cover as a platform for carrying additional gear.
Tools Required For Diamondback Bed Cover Installation
- Utility knife or scissors
- Ratchet wrench with a socket set
- Phillips head screwdriver
- Measuring tape
- Power drill (if required)
- Gloves
- Eye protection
Diamondback Bed Cover Installation Step-By-Step Process:
- Prepare your truck bed:
First thing first, you need to thoroughly clean your truck bed to remove any dirt or debris. A clean surface helps create a proper seal and prevents scratches during installation.
This make sure that your diamondback bed cover is compatible with your specific truck model and bed size.
- Install the Bulkhead Seal:
Start by installing the bulkhead seal along the front of your truck bed. This clean the surface with rubbing alcohole to ensure proper adhesion
- Position the center panel:
Position correctly is important, which means placing in the center panel on top of your truck bed rails. This ensures that it is centered side to side and slightly towards the tailgate.
- Attach Side Panels:
Position the cab side panel onto the hinges of the center panel. This ensure that it fits securely over pins or bars as specified in the instructions
- Finalize Clamp Tightening:
Go back and tighten all clamps securely, this ensures that each panel is held firmly in place without excessive pressure that could cause warping.
- Install Drain Tubes (if applicable)
If your diamondback cover includes drainage tubes, install them according to instructions to ensure proper water drainage from the rails.
- Test Functionality:
Test Opening and closing each panel to ensure they operate smoothly without binding or obstruction. This make sure all panels align properly when closed, this provides an even seal around the edges.
That’s it
Final Thoughts:
Diamondback bed cover installation is a manageable DIY project that can significantly improve your truck’s utility and appearance. But don’t worry, it’s not so hard to install, you just need to follow these steps as mentioned and the questions to ask yourself before installing diamondback bed cover.
That’s it as of now for today, do follow us and share your thoughts in the comments and follow us to get such informative blogs daily. Thank you, everyone, George Jordan this side from Toolbox Bazar.
